Hello again! This is the third post in the Starting to Scrap series. You can find the first two posts here:
Post 1: What Do I Need?
Post 2: Picking Your Paper

At the end of the last post, I had picked my papers and photos for the first page of my 2 page 12x12 layouts. They were a small floral print and a dark blue paper from the Clementine pack.
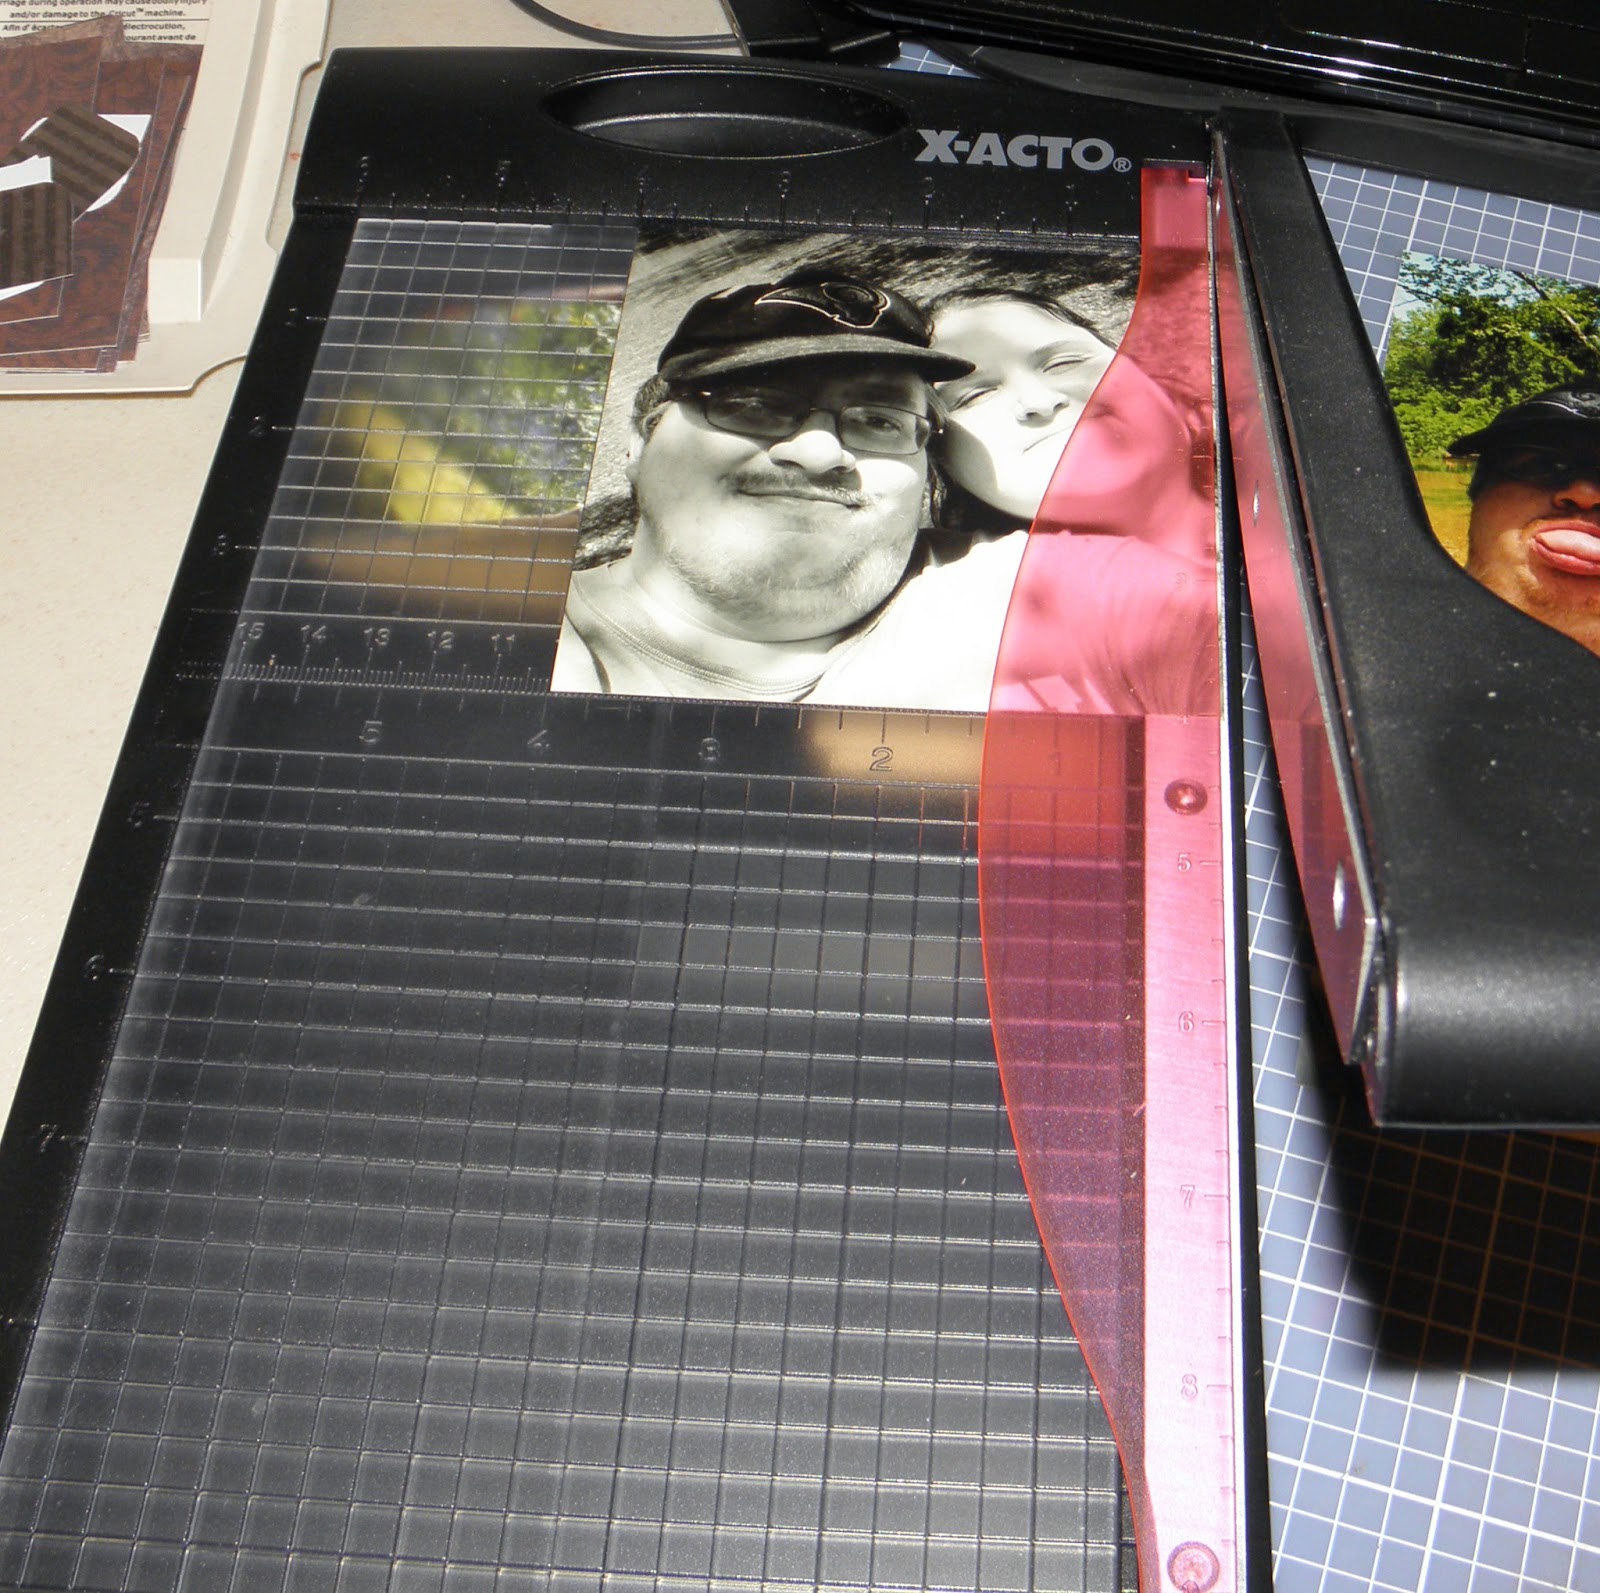
For this layout, I decided to trim my photos to 4 in x 4 in. They were already 4 tall, so this means I just had to trim the width.

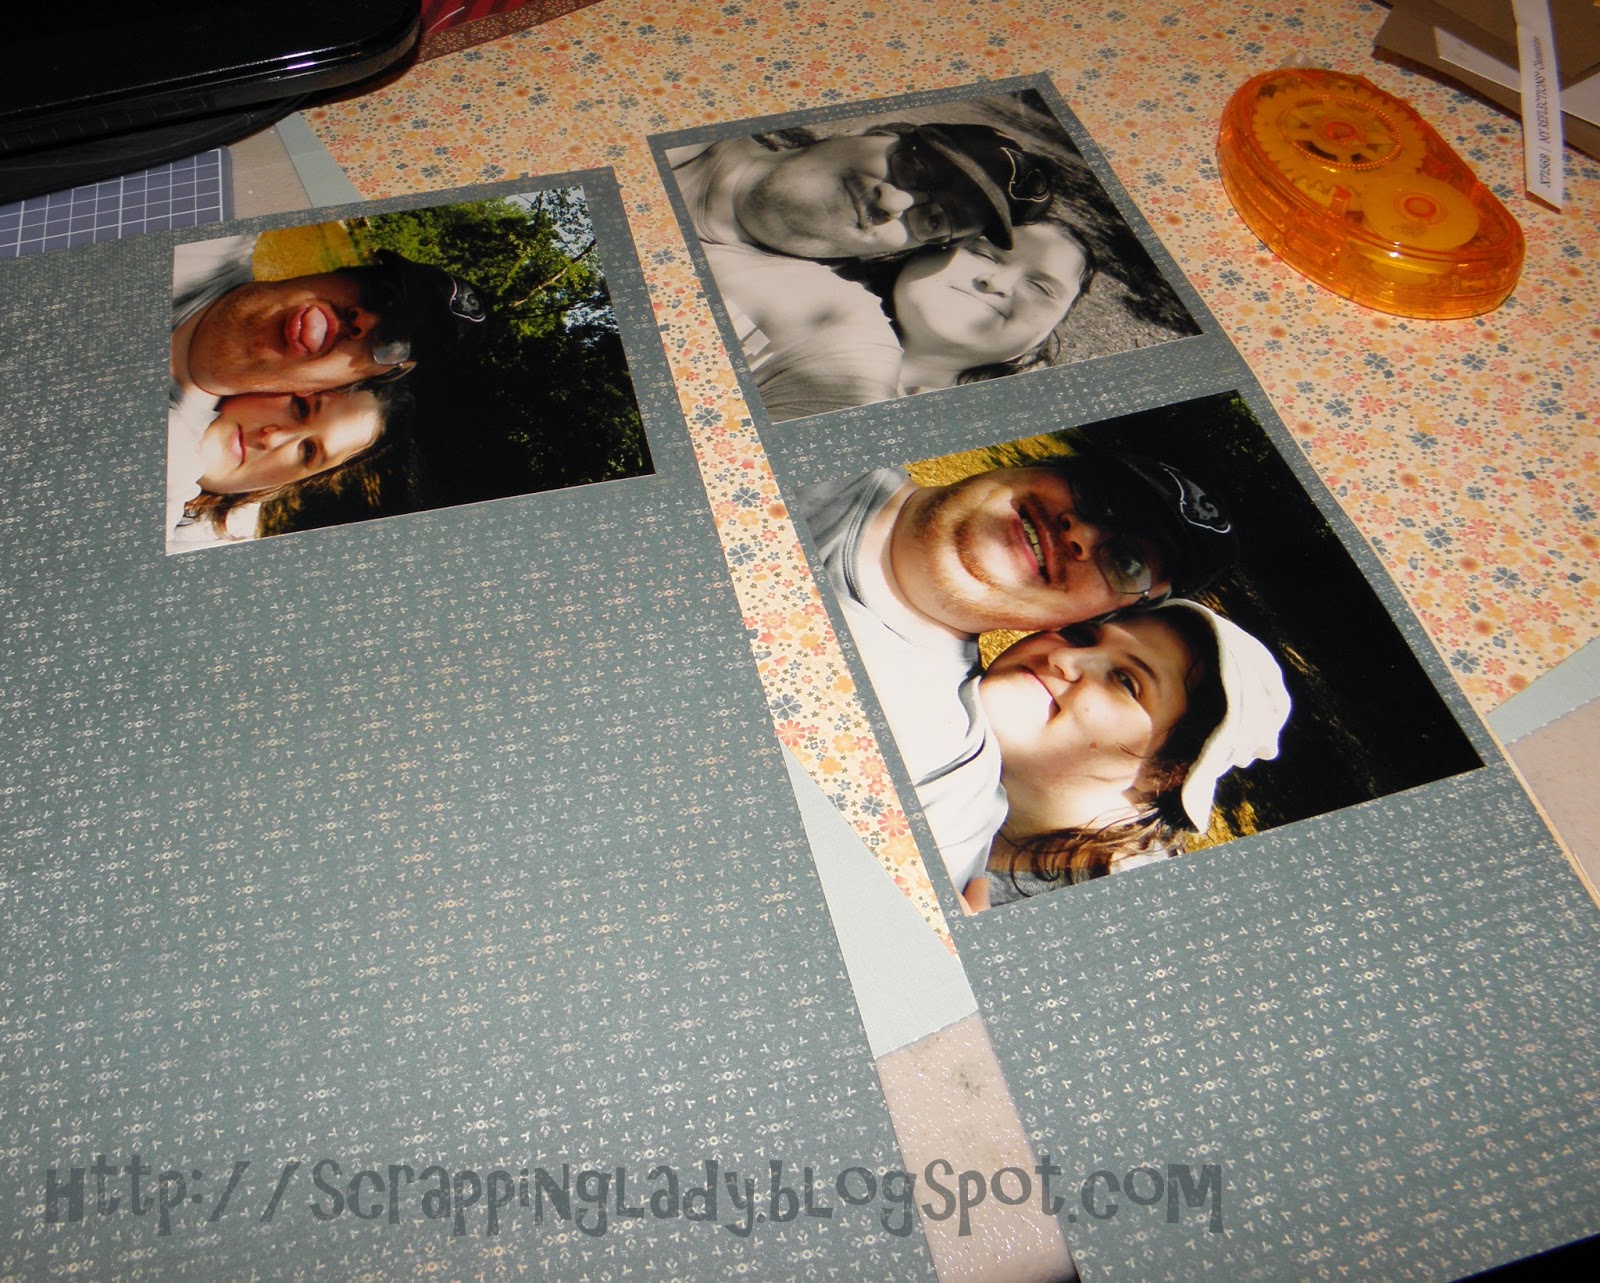
I then laid the three photos out on the color I chose for my matting color. I tried to leave enough between the photos so that they can EACH have a 1/4in border on all sides (do not count the decorative top border of this paper in that, as we will cut that top border off and use it as a decoration later). I adhered the photos to the paper. I used an adhesive runner. I generally do a short strip of adhesive in each corner and then one in the center of the back of the photo to make sure it stays on well. Press firmly once your photos are where you like them to make sure they are adhered well.
Once your photos are down, start to cut them apart. I used my large paper trimmer and cut horizontally to separate the top two photos from the bottom one. Use your paper trimmer to further trim down the photos until they all have about an 1/4in border. You can eyeball this. It does not have to be exact. As you can see, some of the borders are smaller than 1/4in. This is a good opportunity to show you that a mistake isn't always a big deal. If this happens to you. (It happens to me all the time), just trim the sides of the other photos until they all seem about the same. No worries!
Now, it's time to play around with placement. We're not adhering the photos just yet. First, place them in various positions and see what grabs you. Here are just a few that I came up with.

 |
| layering the corners of photos is just fine! |

 |
| Don't be afraid to turn the photos askew |
It's your page, do it how you like! Those are just a few suggestions in case you need help getting started. Will all the photos be perfectly aligned? Probably not, if you're anything like me. My mantra is that if someone is looking my scrapbook and scrutinizing such silly things as perfect alignment, they need to put my book down and find another. Most people won't even notice. I just try to eyeball mine so they look more or less lined up.

This is how I decided to place my photos for this project. I went ahead and adhered them down. I also cut off the decorative strip from the top of the blue paper and put it aside. I will use it in the next post. There are a lot of empty spaces, but I plan to add embellishments. That is what I will work on in the next post of the Starting to Scrap Series. I am going to try to use only things that a beginner would probably have access to. You don't have to spend a ton on your pages to make them pretty. Scrapbooking is only as expensive as you allow. Sure, there are a zillion stickers and fancy things you can buy. There are tools for everything. You just have to look at what's available and ask yourself "will I use this? Do I have a plan for this in the near future?" If it's a tool, you need to ask yourself "will I use this enough to justify the cost?" "Is there any cheaper way I can do the thing this tool does?" Sure, I have some fancier things, but I've been doing this well over a year. As you scrap, you just add to your stash little by little. There is no need to go out and buy out the store on your first try. Until next time, happy crafting.
No comments:
Post a Comment