I decided to make these paper purses and take photos (the best I could) as I crafted. This is easier for all of you who can't or would rather not watch videos while crafting. I adjusted the finishing of the purse a little to suit my needs, as I did't have any velcro tabs on hand. I hope this post is helpful! Enjoy!
Materials needed:
- 6x6 piece of cardstock. (this is for the purse body. Double sided is a bonus but not necessary)
- 2 pieces of cardstock measuring 3 1/2 x 1 in. (these are for the top of the purse sides
- 2 pieces of cardstock measuring 7inches x 1/4in. (these will be your purse handles)
- 4 small brads or other embellishments to hold on the handles
- adhesive of choice
- small scraps and embellishments to decorate your purse
- hole punch
- ribbon
- Scor-Pal or other scoring tool

Step 2: turn your paper so your score lines are going "across" (horizontal)
Step 3: Score at 2 1/2 and 3 1/2
Your paper should look like this after scoring is complete

Step 4: Fold your score lines so they're nice and crisp
Step 5: here's the tricky part. You might have to refer to the original video for this. I know I had to watch this part twice before I got it. Take the little "sqare" area and fold it so the side of the square lines up with the vertical score line. Do this for both sides of the square

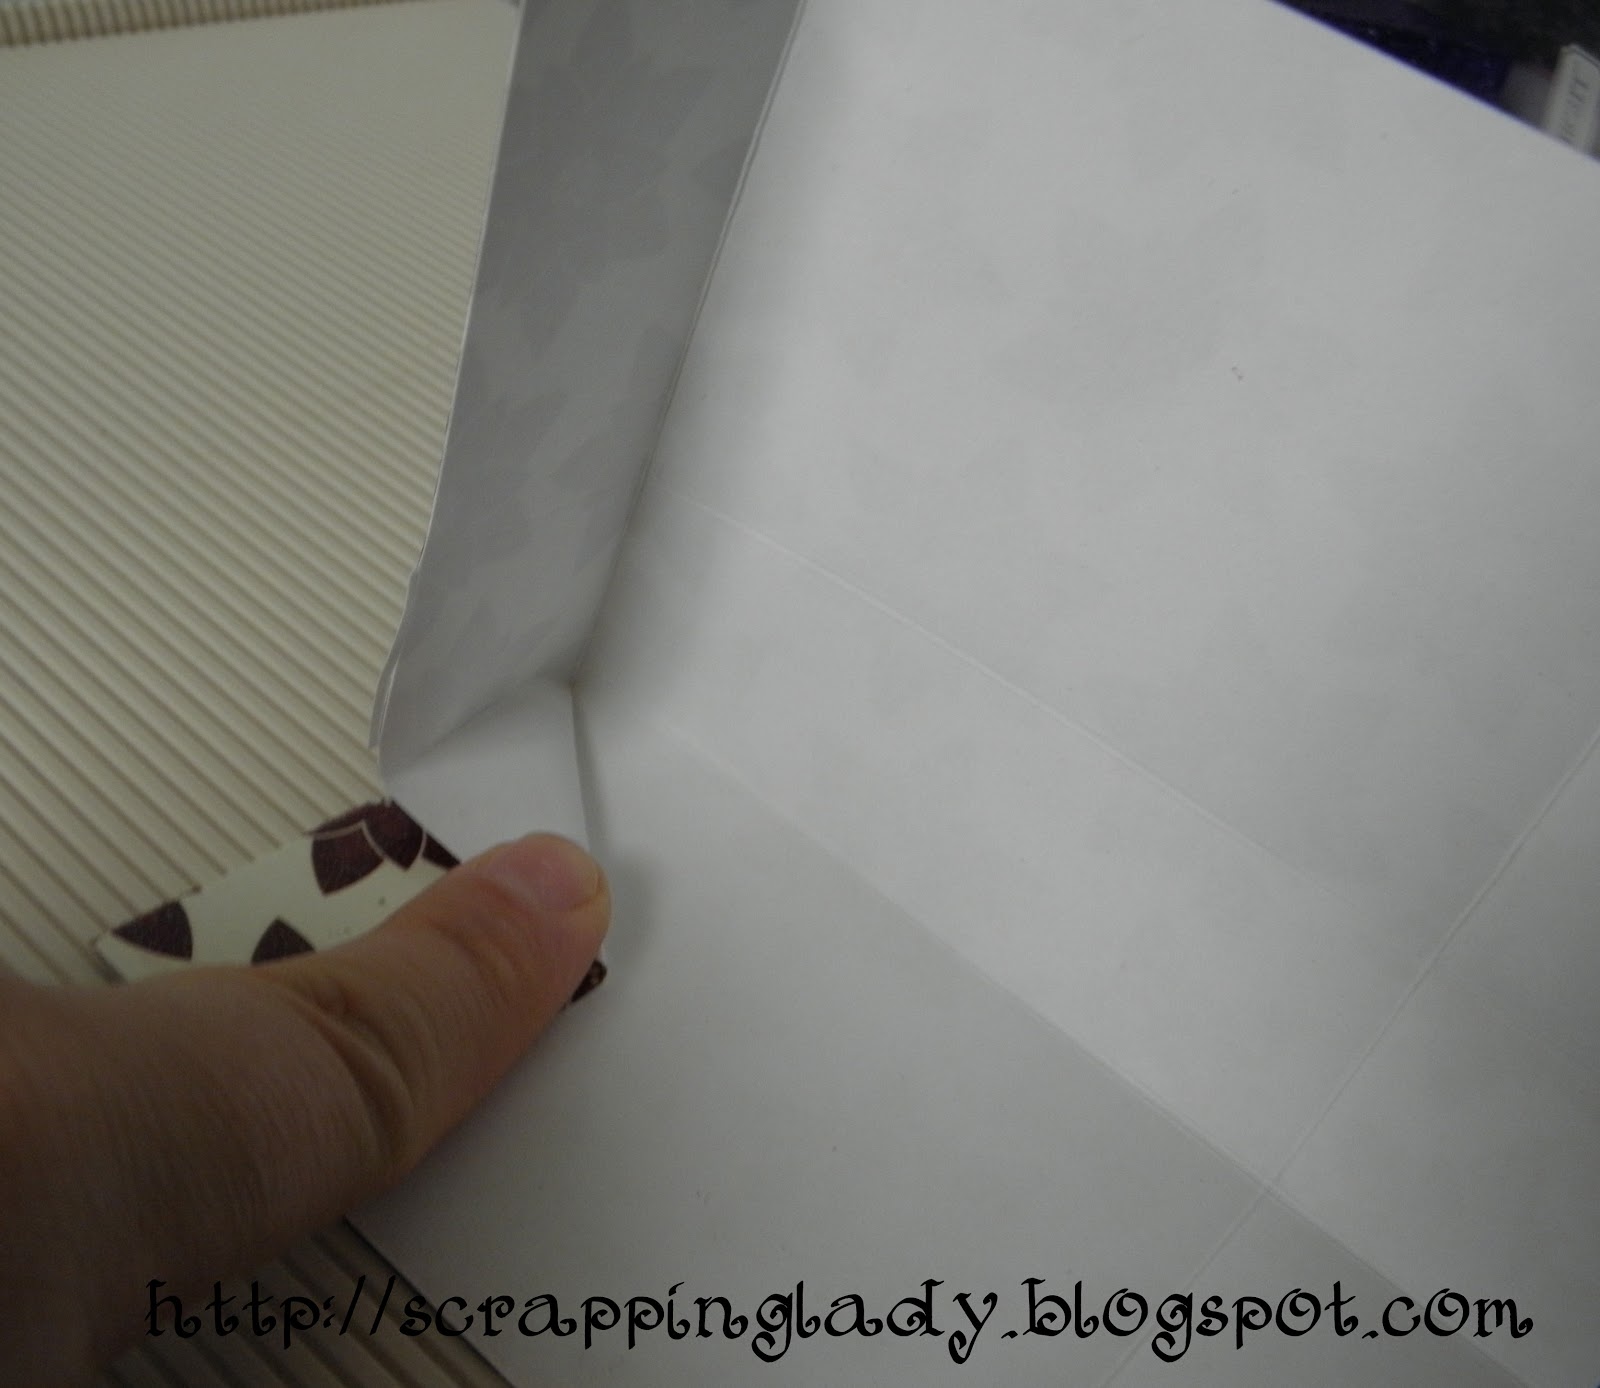
It's hard to take a picture while i"m folding but I tried to show the end result in that second photo. Like I said, you might need to watch the video for this part.
Step 6: Repeat folds for both sides of purse
Your purse should look like this when the folds are finished

Step 7: take your 3 1/2 x 1 pieces and score on the 1/2 mark

Step 8: Fold your purse sides in. Fold your 3 1/2 pieces on the score line. Apply adhesive to the underside of your pieces and affix to the top of one side of your purse. Stronger adhesive works better here. My tape runner worked well. My archival safe glue stick.. notsomuch.

Step 9: Do the other side in the same way, so that your purse has two finished "top sides"
Step 10: Punch holes about 1/2 inch in on the top of each side. Repeat for other top end of first. You can just eyeball it here. These are going to be the spots your handles will attach

Step 12: Get two small brads and place one through a hole, and through the hole in the end of one strap. Repeat for the other sides


Once you have your handles, you can decorate a little bit. I added a piece from a stampin up label punch cut in half. You're going to need to punch two more holes in the center of each side of your purse. This is to thread ribbon through for the closure! You can also omit that step and just use velcro tabs if you want, but I don't have any!
This is what my purse looks like after I thread the ribbon through the holes.

Tie your ribbon and you're done! Embellish as you want, but I like mine just as they are. Cute cute!

More purses! Thanks to Brenda Olson for her lovely idea!

Thoughts? If you make any, be sure to show me! I'd love to see them. These would be great for any occasion too, not just Christmas! Happy Thanksgiving and Happy Crafting!
No comments:
Post a Comment